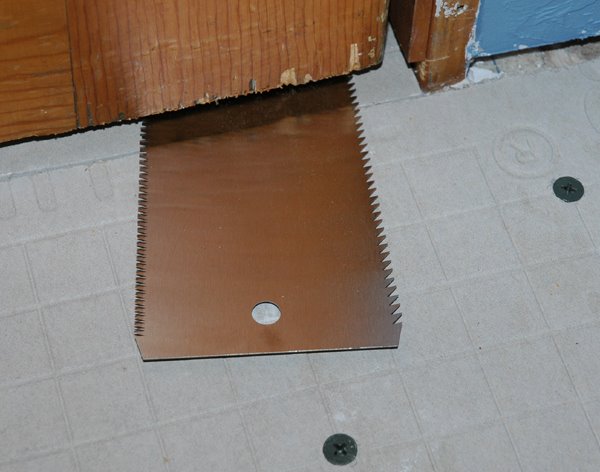
Having already cut my cementboard and laid it out in the room to make sure it would fit properly, I set out last night to install the 1/4-inch-thick panels one at a time. First I mixed up a supply of thin-set, re-explained the ground rules to both cats, popped a beer, cranked some Supertramp, and began applying the mortar to the floor. After carefully setting the first panel, I climbed on top to begin driving my Superiorbilt 1-1/4" backerboard screws. I initially set a screw by tapping the tip into the cementboard with a hammer, then driving it home with my 18-volt Black & Decker Firestorm drill/driver. Just as the flat screw head approached the surface of the cementboard... SNAP!... busted the tip off my driver bit. Not good!
Luckily, I had more bits that came with my RYBOI drill. Unfortunately, they didn't fare a heck of a lot better. I ended up breaking each of the eight driver bits I had, yet had failed to drive all the screws I needed to secure even the first panel. Of course by that time it was too late to make a run to Lowe's (but only because they still haven't issued me my own key). Unable to continue with that particular task, I took the remaining mortar outside and applied it to the surface of the adobe blocks that form one of my raised garden beds. Not exactly what it was made for, but at least it wasn't a complete waste, as it will help deter erosion.
Made a quick hardware run today and picked up the following: a six-pack of DeWalt double headed #2 bits, a six-pack of 1-inch Bosch titanium #2 screwdriving bits and a three-pack of 2-inch Bosch titanium #2 screwdriving bits that fit into the keyless chuck portion of my driver. I figured that if I couldn’t get the job done with all these, that I would finish up using a sledgehammer (even though that would require yet another trip to Lowe’s). As it turned out, I was able to drive all remaining screws (150+) using a single Bosch titanium bit. Afterwards, that bit looked nearly as good as the other two that are still in the package.
Lesson learned: Don't attempt projects similar to mine with crappy tools or materials. It will only lead to frustration and extra trips to the hardware store.
Another example of the same lesson was this plastic three-sided taping knife I bought (featuring a 4-inch, 6-inch, and 10-inch blades) for the dry walling portion of the project. This hunk of junk wasn't worth the time I wasted patting myself on the back for the money I had saved by not purchasing the recommended metal taping knives. I picked those up the day after I broke the cheap plastic one, and they made the job much easier.
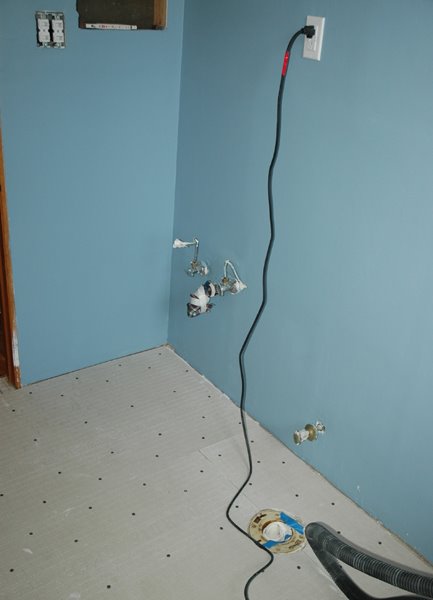
At any rate, I have now have the entire floor covered with backerboard, and the seams have been taped and mortared (although I hadn't gotten that done when I took these photos). I don't anticipate actually beginning to set the tile until after the balloon festival wraps up on the 15th. I also recently picked up a pair of hard shell kneepads to ensure that I don't aggravate an old Nerf football injury.
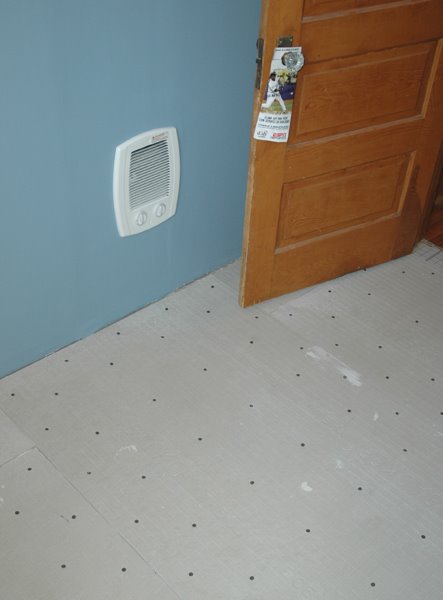

I utilized a Vaughan double-edged (medium rip cut / extra fine cross cut) Bear Saw to remove a half-inch from the bottom of the doorframe and door to accommodate the cementboard, tile and layers of thin-set.
In other news, I have ordered the new tub hardware and have begun looking into options for the threshold transition and baseboard molding. I will definitely not be installing vinyl floor/wall liner similar to the crap that I ripped out. Instead, I am leaning towards a Victorian-style wood trim along the floor, although straight and simple may win out in the spirit of making it as easy as possible to keep clean.

No comments:
Post a Comment